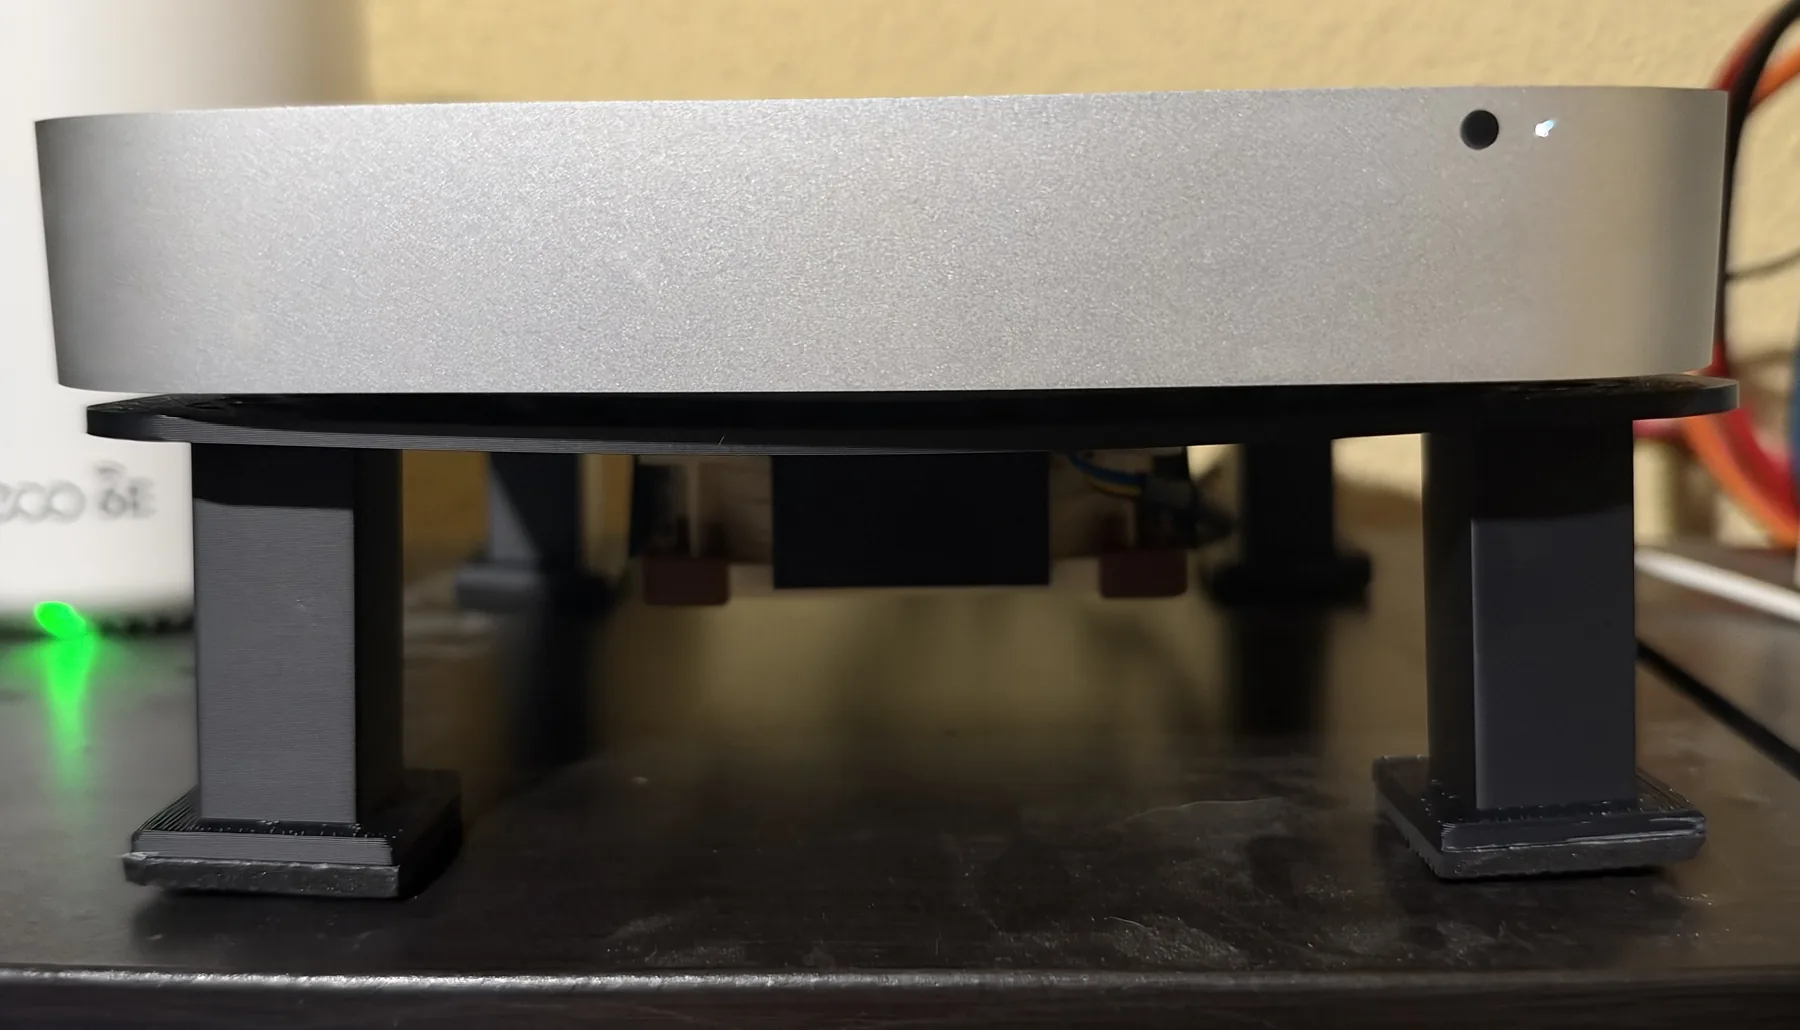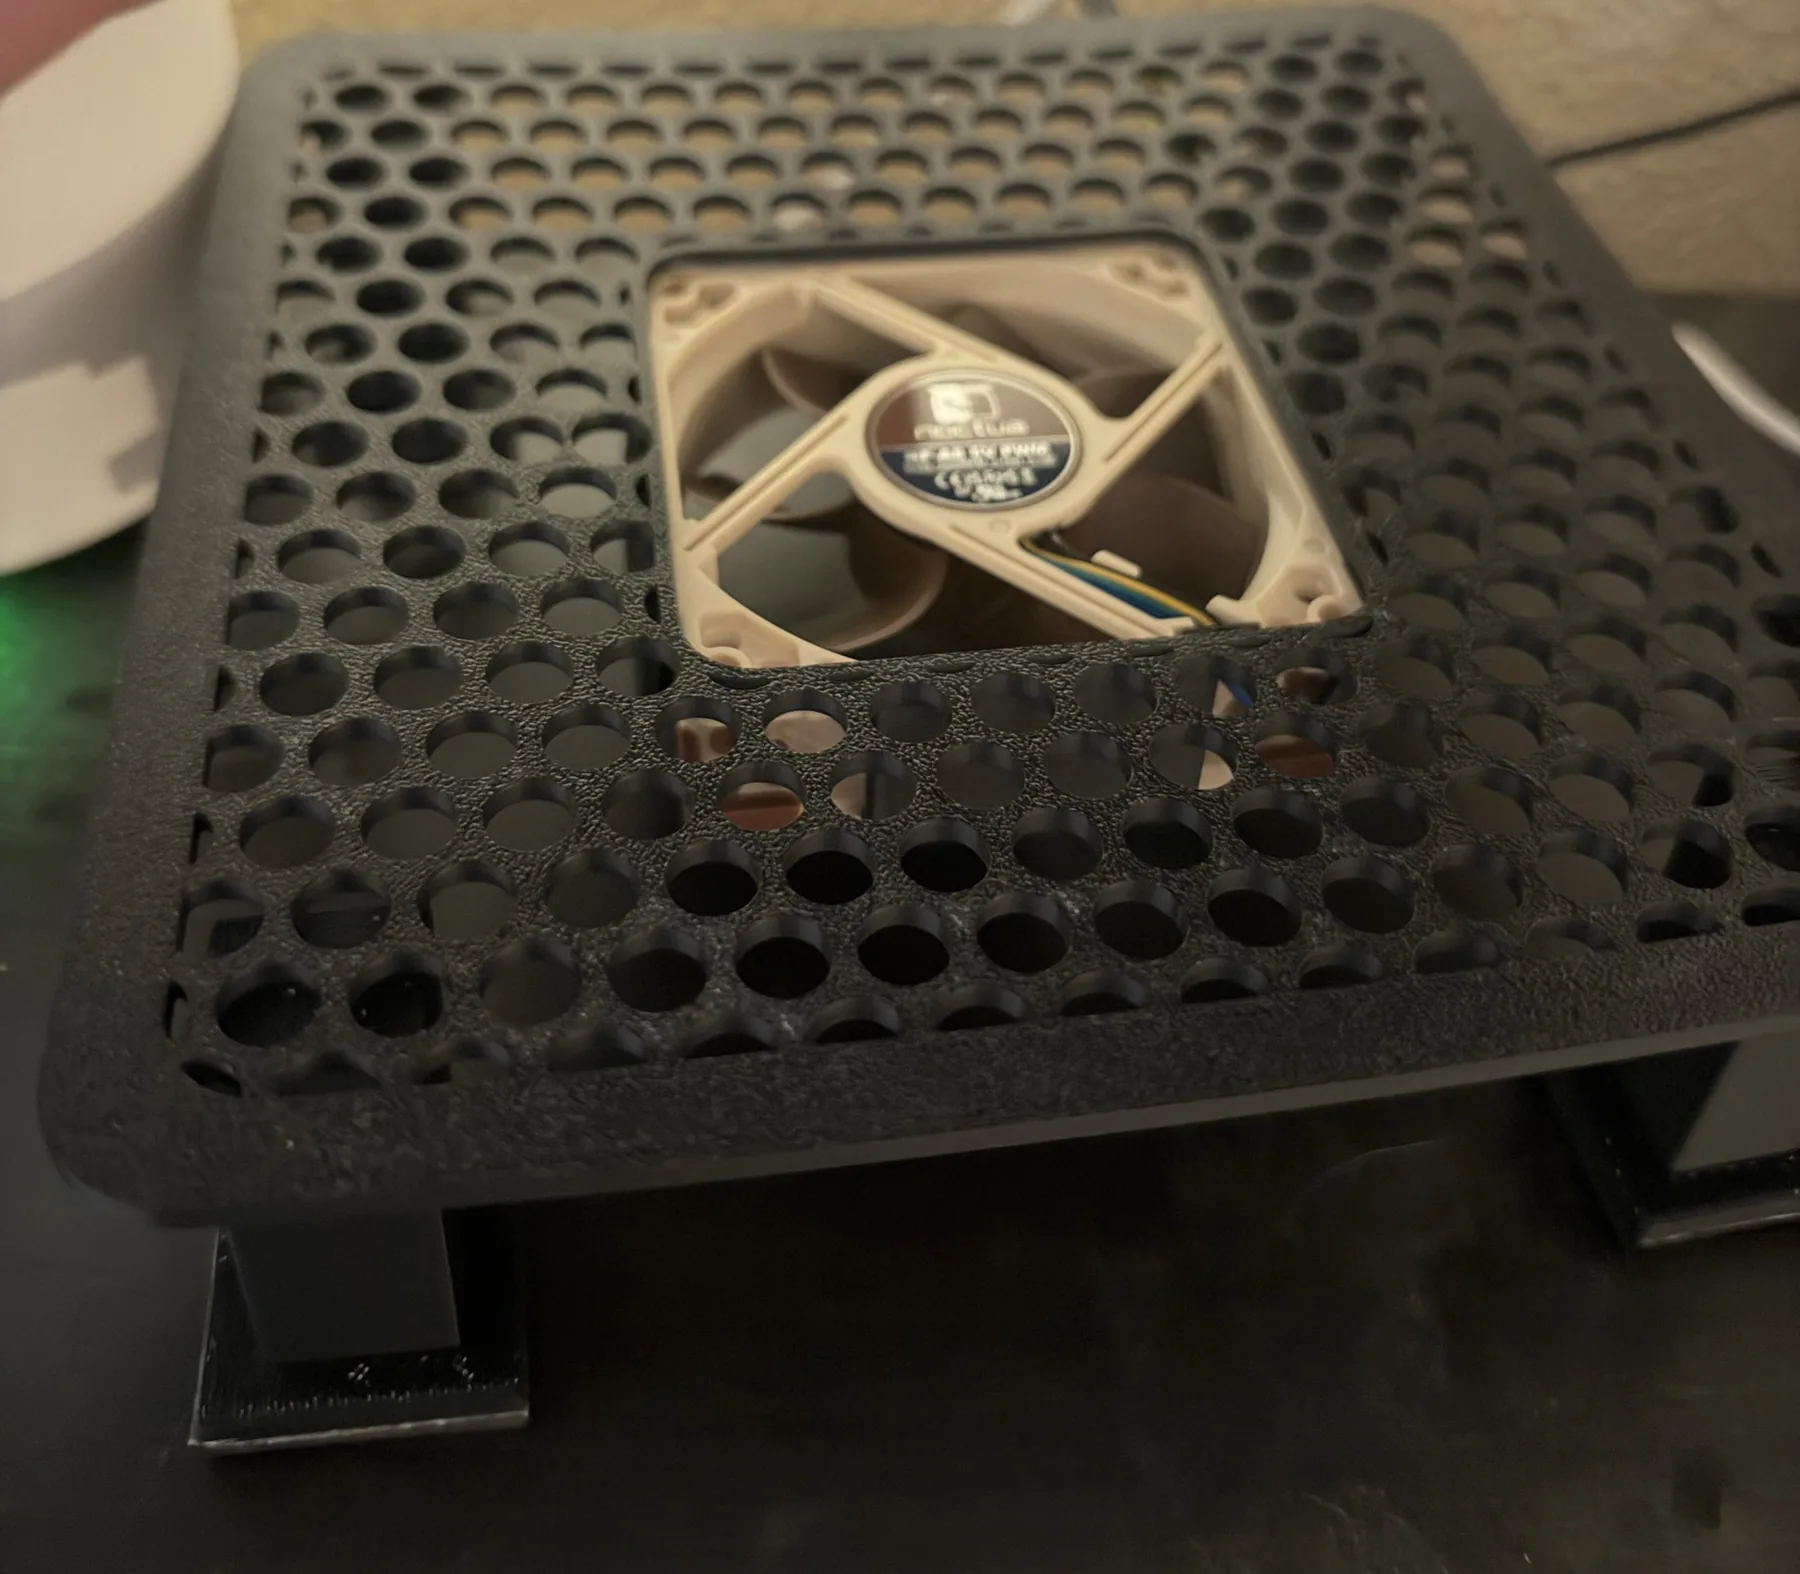

Mac mini cooling stand.
In August I dug out a 2012 Mac Mini (Macmini6,1) that had been gathering dust in a cupboard. It's a model with an Intel Core i5 that I'd upgraded to 16 GB of RAM back in the day (I bought it from Apple with the minimum and added compatible memory later).
I stopped using it because it failed quite often and was very slow at several things, so it ended up unplugged and in the cupboard I just mentioned.
One day a light bulb went on: what if I put Ubuntu Server on it, moved over the Docker containers I kept switching on and off by hand on my PC and, while I was at it, retired the Pi-hole I had on a Raspberry Pi and brought everything together? So off I went.
First problems
Ubuntu usually installs from a USB stick in no time, but here it took 35 minutes. That alone should have told me the original drive was a mess. After a couple of reboots, it would only boot straight into a write error. So I bought a compatible 480 GB SSD and, thanks to my good friend Roge (cheers, you legend), we managed to swap it. While we were at it, we gave the fans and everything else a good dusting, which it badly needed.
The final install
The second time round everything was incredibly fast: formatting and installing Ubuntu took no more than ten minutes in total. I'd written scripts for the little I'd managed to install the first time, and I was able to reuse them.
I started with containers for Pi-hole, aMule, Jackett and a few things I needed now and then. Now I could set everything up properly and switch things on and off on demand, without having the Raspberry Pi or my PC running all day.
Little by little I got carried away and ended up with loads more things I didn't know I needed and now love.
It never rains but it pours
One of those things was the photo gallery. I wanted the family's phones not to have to store thousands of old photos, while still being able to see any of them from home (over the wifi or VPN) almost as if they were on the PC. My Synology NAS is almost a toy, with 256 MB of RAM, and can't cope with many apps, so I gave the server an Immich container to manage the albums and the phone backups.
But indexing photos is hard work for the Mac Mini: generating thumbnails, analysing images and extracting metadata means lots of processes running in parallel. During the initial upload it spent several days with the CPU close to 100 % and eating RAM like there was no tomorrow.
That's when I saw that the Mac Mini was getting very hot and that its small, quiet fan couldn't keep up. It needed a hand.
I looked for cooling stands and none of them convinced me. Some were really bulky and noisy, and others were much bigger or smaller than the Mac Mini (with a 2012 model, finding something that fitted exactly was tricky). I gave up looking, but if Muhammad won't go to the mountain, the mountain will have to come to Muhammad.
The solution
With help from Claude, and taking advantage of the fact that the Mac Mini's dimensions are public, I asked it to design a custom stand. It had to hold the Mac, let air through underneath (which is where it draws it in) and keep clear of the outlet at the back. And, at the same time, hold a powerful but quiet 80 mm fan, one of those powered over USB at 5 V, to push cool air up from below and help it breathe.
And so it was. After a couple of iterations I had a design that lets the fan cables out without catching on anything and holds the fan so it doesn't vibrate or fall, all with the Mac Mini resting on top.
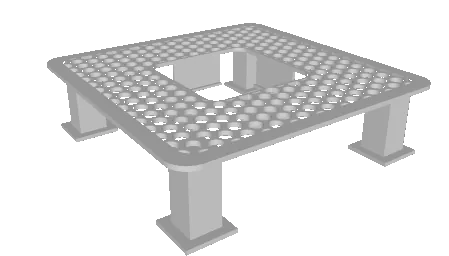
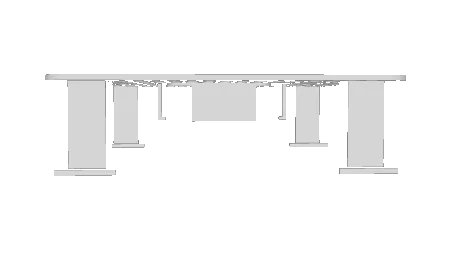
I don't have a 3D printer (yet), but I took it to a wonderful shop in Oviedo and they printed it in no time. They treated me really well, so I'd recommend them if you're nearby.
I'm sharing the design in case it fits your setup or you want to use it as a reference for another model. It's on Printables under a CC BY-NC licence.
Making it switch itself on
Obviously, the fan couldn't be on all the time or depend on me remembering to switch it on. The next piece was a USB wifi relay and a small program that decides when it should spin. That deserves an article of its own, so I'll tell you all about it in part two.
Why it's worth it
Maybe you don't have the same model as me, maybe you don't have a printer (neither do I), but these days that's no obstacle. With a bit of help and some free time (it was a summer of tinkering and really interesting lessons) you can do wonders. If you have another device with a similar problem, you can use this guide, or part of it, to bounce ideas around with your favourite AI agent and look for alternatives.
The sky's the limit (actually, it's the space at home, hence no printer).